|
Karmann LT Distance Wide Restoration
Stephen Calvert
Page 02 |
|
|
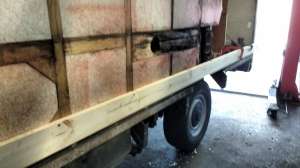
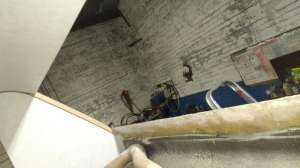
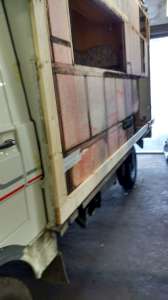
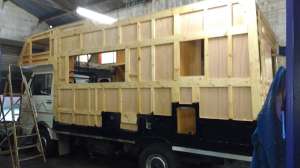
With the Distance Wide stripped of it's aluminium skin it's time to start rebuilding it.
|
|
|
|
|
|
|
||
|
|
 |
|
|
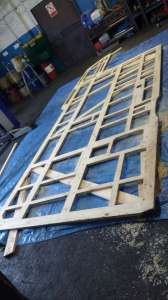
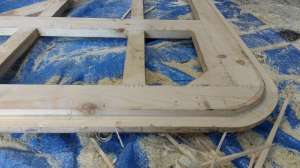
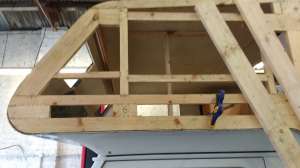
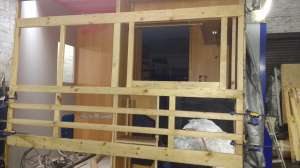
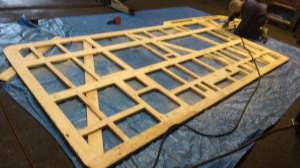
51. The first of the new framing is laid down using kilned dried wood. The old framing is copied precisely. |
52. Everything relies on this first length of wood being right. |
53. After days days work copying the old framing the wall is almost complete. |
 |
 |
|
|
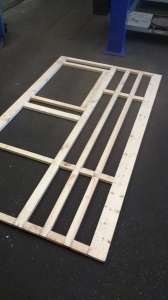
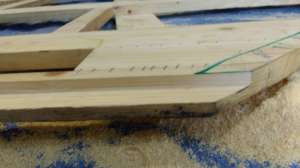
54. The ensure openings are correct the aluminium side panel is used as a template. |
55. Another opening... |
56. The new framing is removed from the van for more work. |
 |
 |
|
|
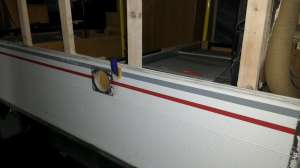
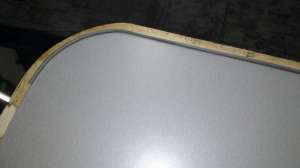
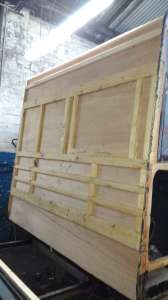
57. The complete wall ready for routering the 28mm channel. |
58. 28mm channel on the rear nearside corner. |
59. More routering of the channel |
 |
|
|
|
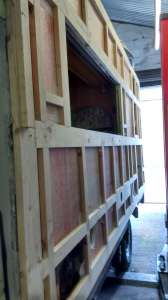
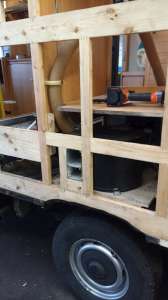
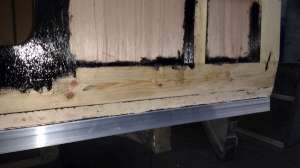
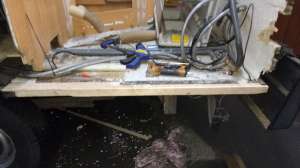
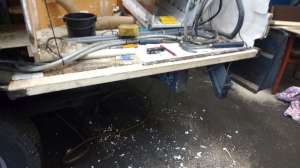
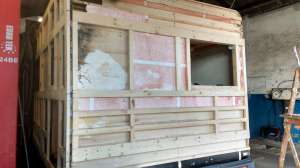
63. With the nearside framing now complete it is temporarily mounted back on the Distance Wide. |
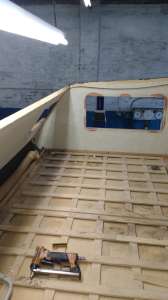
64. Before the wall can be permanently placed on the van the toilet floor is repaired. |
65. This will of course be protected |
 |
 |
|
|
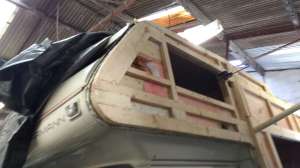
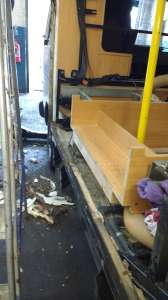
66. The old side wall is removed from the Distance Wide |
67. Everything is checked over in readiness for the new wall. |
68. Traces of old sealant is removed and the area cleaned. |
 |
 |
|
|
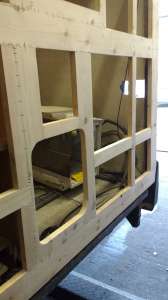
69. Everything is checked over to ensure it's a good fit. |
70. Inside of the new framing is marked with a pencil around the furniture and wall so that it is know where the wallboards and screws will go. |
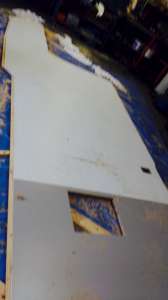
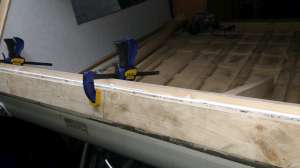
71. The rear lower offside and the new toilet access opening. |
 |
 |
|
|
72. The new wall boards are laid out on the new framing ready for fixing on. |
73. Weights are used to make sure a good fix..
|
74. The new wall boarding is ready and windows openings are cut using a router. |
 |
 |
|
|
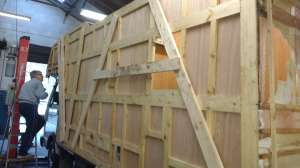
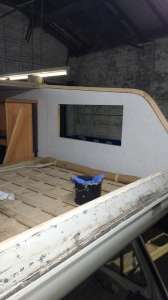
75. At last the new wall is fixed to the van |
76. Old School! A current dated coin is left on the framing. |
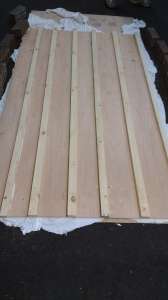
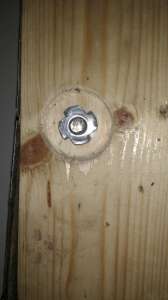
77. Bulkhead fixing bolt. |
 |
 |
|
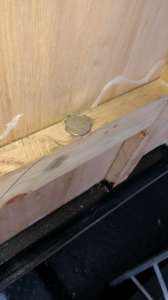
|
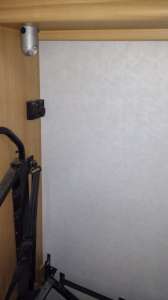
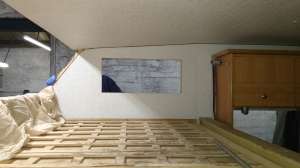
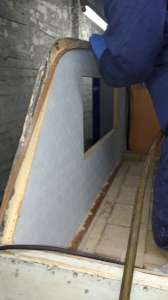
60. The new wall viewed from the inside. This is the corner of the lounge wall. |
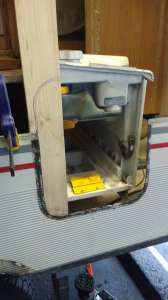
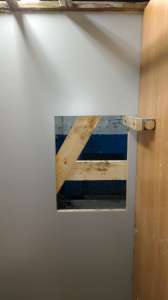
61. Toilet wall bottom. The cassette access door is yet to be cut out. |
62. Toilet window. |
 |
 |
|
|
78. The gas locker. |
79. New coloured welting is stapled onto the bottom of the 28mm channel. |
80. With the wall nearing completion, protective paint is applied to bottom edges. |
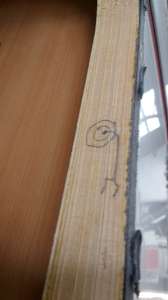
 |
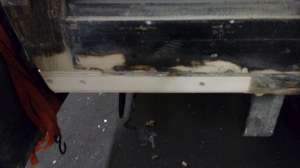
|
|
|
81. New aluminium railing fixed. |
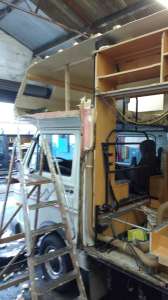
82. Wall is now complete. Time to move onto the next job. |
83. Framing on the rear wall is copied. |
|
|
||
 |
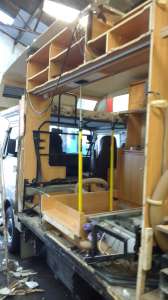
 |
|
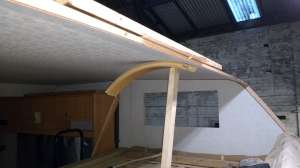
|
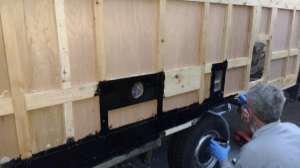
84. The old back wall is removed and the new wall offered up and checked.. |
85. Rear wall ready for the new wall boarding. |
86. The new wallboarding is now glued to the new framing and the rear wall fixed to the van. |
 |
 |
|
|
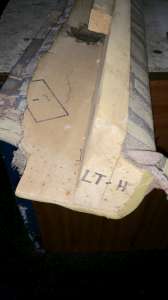
87. Onto the offside. This drawing was discover on the door frame. |
88. Only a small amount of repairs were needed on this side. Offside rear lower corner has some new wood grafted in. |
89. New wood is used to replaced the rotted wood on the side step. |
 |
 |
|
|
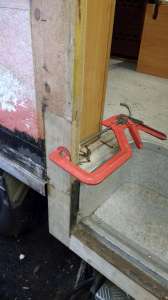
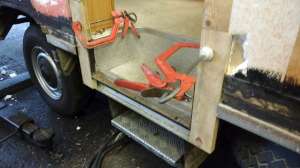
90. Clamped and gued. |
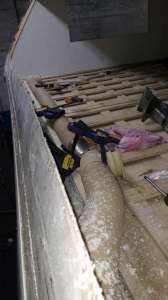
91. Finally, protective paint is used. This side is done. |
92. Onto the overhead cab. The strengthening padded bar is removed. |
 |
 |
|
|
93. The fibreglass edge is cleaned. |
94. Inside and out. Repairs are made if needed. |
95. New strengthening bar is installed. |
 |
|
|
|
96. Silicone sealant should be used where the bar meets the fibreglass base. |
97. New welting is stapled into the 28mm channel. |
98. New front wall is made and offered up. |
 |
 |
|
|
99. A new overhead can roof is made using the old roof as a pattern. |
100. The new roof placed onto the Distance Wide. |
101. The roof is supported in the middle until the new front wall in fixed. |
<-- Previous Page | Next Page -->
Or select a page: 1 - 2 - 3 - 4 - 5
<--Click here to return to the Main Index