|
Karmann LT Distance Wide Restoration
Stephen Calvert
Page 04 |
|
|
Fitting the new roof aluminium and the start of the finishing jobs...... |
|
|
|
|
|
|
||
|
|
 |
|
|
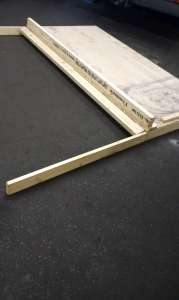
153. To create the fold at the base of the kitchen slant, a former is made. |
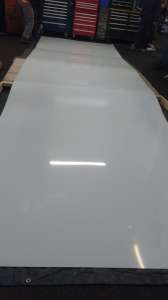
154. The new ali roof on the former. |
155. The ali is lifted onto the Distance Wide |
 |
 |
|
|
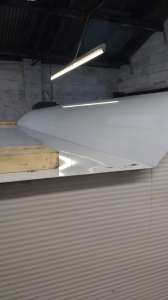
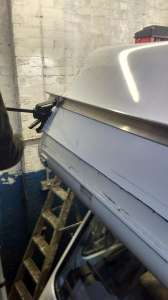
156. Enough overlap on either side before careful measurements are made and the ali roof is stapled. |
157. Plenty of overhang on the rear end. The original lower ali panel will be used. |
158. Plenty of excess at the front too |
 |
 |
|
|
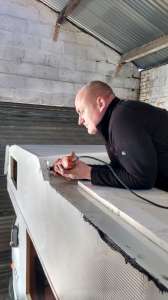
159. A clamp is used to hold the ali at the front end to keep it flat. |
160. The other side |
161. This job should not be rushed. |
 |
|
|
|
162. Concentration and a steady hand is needed when the edges are cut with just enough left over for the 5mm lip |
163. With the 5mm overlap cut, the ali is folded over the top side panel. |
164. Cleaned and ready for refitting |
 |
 |
|
|
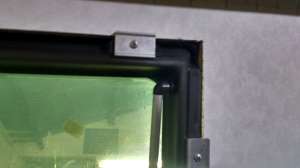
165. The window frame securing clip. |
166. Back window is fitted using Sika 710 as a sealant |
167. The inside frame secures this window (no clips) |
 |
 |
|
|
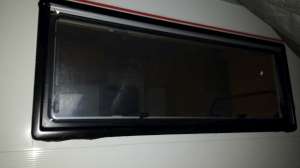
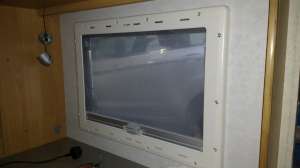
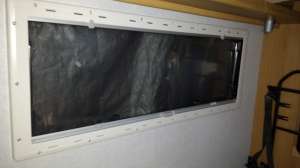
168. Kitchen window in in. |
169. The new edging rubbers placed on the van. |
170. The ali edging trim being positioned |
 |
 |
|
|
171. To ensure a tight seal, clamps are used before screwing the ali trim to the Distance Wide. |
172. All done and onto the next section |
173. The kitchen slant. |
 |
 |
|
|
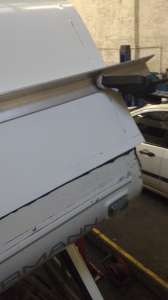
174. The bulkhead ali trim complete |
175. The Truma heater chimney is fitted. |
176. |
 |
 |
|
|
177. |
178. The rubbers for the Ladder/Bike rack are cleaned. |
179. W4 Mastic strip will be applied to the back of this rubber. |
 |
 |
|
|
180. A tedious task - fitting the ali edging insert trim |
181. It's slow work... |
182. All done! |
 |
|
|
|
183. The rear nearside corner. Looking good! |
184. The roof edge. |
185. Nice flat roof. |
|
|
||
 |
 |
|
|
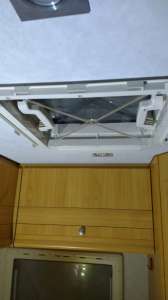
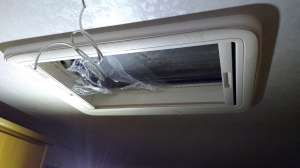
186. Time to fit the skylight. |
187. Sika 710 is used to seal the skylight to the roof. |
188. Job done. |
 |
 |
|
|
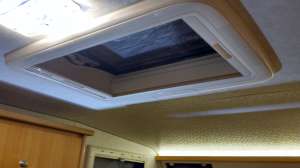
189. |
190. Look very neat. |
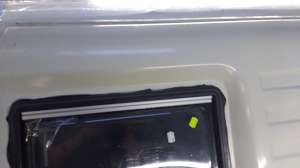
191. Two new front overhead cab windows are sourced (very rare items). |
 |
 |
|
|
192. Same method and materials used to fit the new window. |
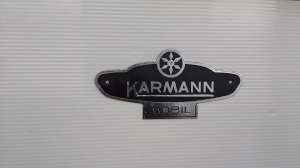
193. The other side window. |
194. The Karmann Badge is cleaned, painted and ..... |
 |
 |
|
|
195. ....Fitted. |
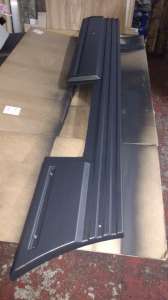
196. Lower side plastic trims are cleaned and painted. |
197. |
 |
|
|
|
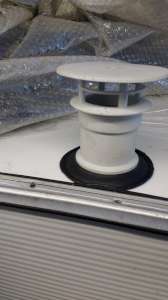
198. New vent fitted. |
199. Rear window in, back bumper refitted, upper and lower ladder/bike rails are on. |
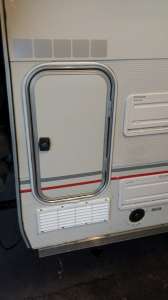
200. The side door frame cleaned and ready to receive new hinges |
 |
 |
|
|
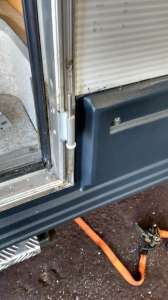
201. The hinges are fixed the door frame before the frame if refitted to the van. |
202. Looks good. |
203. Upper half the the stable door back on |


<--Previous Page | Next Page -->
Or select a page: 1 - 2 - 3 - 4 - 5
<--Click here to return to the Main Index