|
How to TDI a Karmann Gipsy by Tudor Morgan |
|
|
The Pictorial Work Sequence - Page 3 |
||
|
Click on the thumbnails for a bigger image
|
||
 |
 |
|
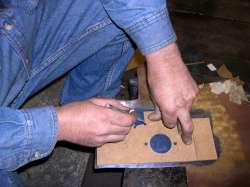
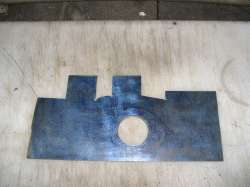
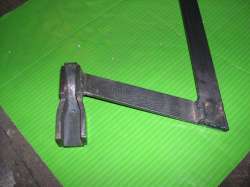
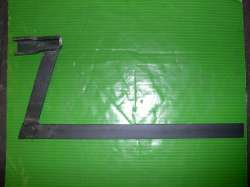
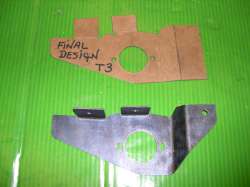
| 73. Marking onto steel template | 74. Template cut |
75. Bracket cut out and folded |
 |
 |
|
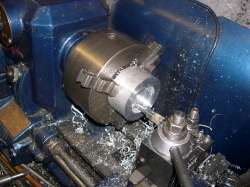
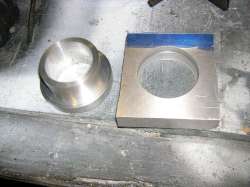
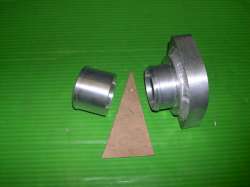
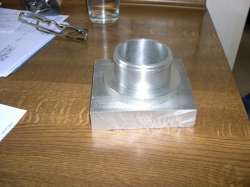
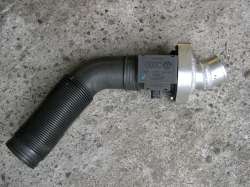
| 76. Turning new air intake adapter for air mass meter to air filter | 77. Base and ring finished |
78. Adapter shaping up |
 |
 |
|
|
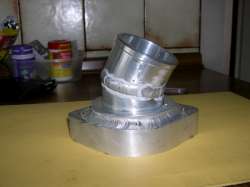
79. Critical angle for Gipsy air filter fitting |
80. All welded up |
81. Air mass meter and inlet pipe connected |
 |
 |
|
|
82. T3 air filter brackets made, located behind LHS of bumper |
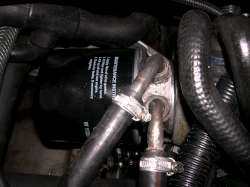
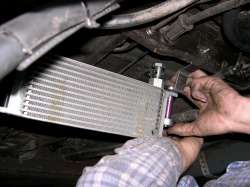
83. Oil cooler take off adapter and filter |
84. Fitting external oil cooler underneath to pick up air flow |
 |
 |
|
|
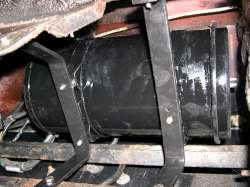
85. External oil cooler |
86. Oil cooler feed pipes angled for max air flow (protective mesh needed) |
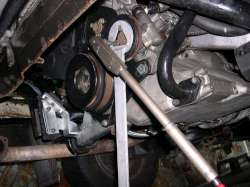
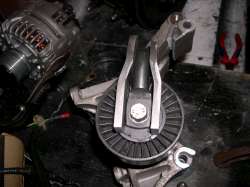
87. Fabricated pulley holding tool |
 |
 |
|
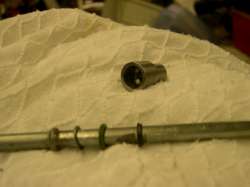
| 88. Manufactured TDI / T3 dipstick bush | 89. Dipstick bush and seals |
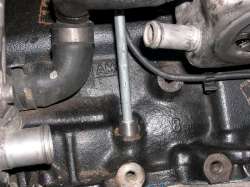
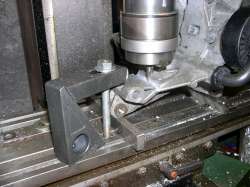
90. Milling alternator mounting to enable correct dipstick position |
 |
 |
|
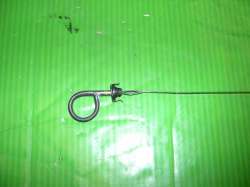
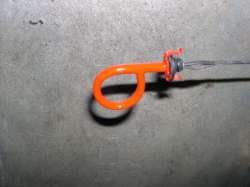
| 91. Dipstick extended, new eye made | 92. RED for easy identification |
93. T3 dipstick bent and offered up to slot |
 |
 |
|
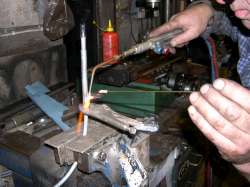
| 94. New fixing tab made and braised | 95. Special own design alternator /water pump belt fitting tool |
96. Sizing up and bending steel for turning tensioner tool |
 |
 |
|
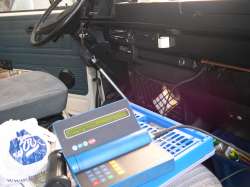
| 97. Another view of finished tool – the Camel | 98. Purchased VAG test box |
99. Test box in use |
 |
 |
|
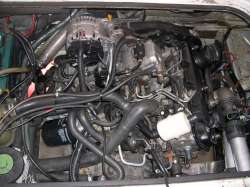
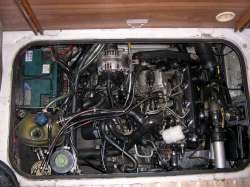
| 100. Everything in place and finished | 101. An overhead view of the final result |
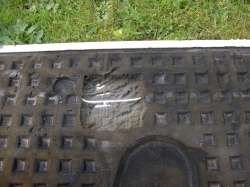
102. The rib that needs to be cut away to stop alternator knocking |
 |
Lengenbachweg 8 75328 Schömberg Tel: 0 70 84 - 6192 Fax: 0 70 84 - 5280 |
|
| 103. A badge well earned | ||

<--Click here to return to the Main Index