|
Karmann Cheetah No.29 Restoration by Clare and Marv Jennings
Page 04 |
|
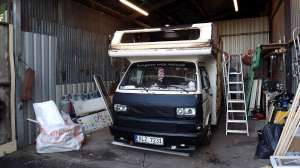
| This is the restoration of Cheetah No.29 expertly done by Marv and Clare. Although the Cheetah had been repaired in the past, these repairs did not last and a full restoration was required. The restoration started on the 8th December 2013. |
|
|
|
|
|
|
||
 |
 |
|
|
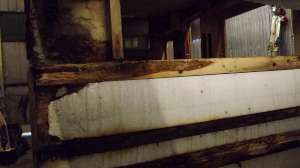
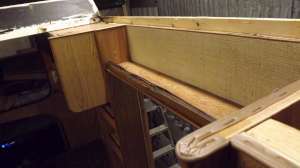
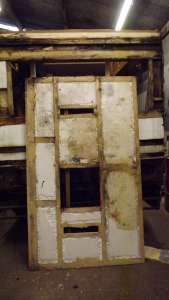
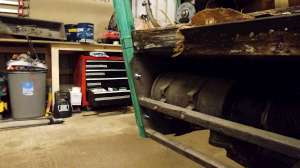
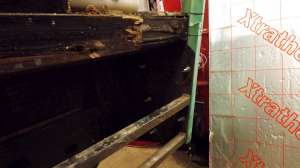
73. Exposed rear wall. |
74. A lot of this rot could be caused by the ladder. |
75. Preparing to remove to old ali roof off the Cheetah. |
 |
 |
|
|
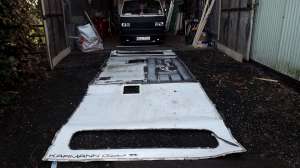
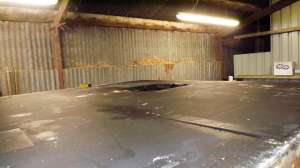
76. It's off. Roughly 6.5 metres in length. |
77. New roof ali will be fitted so the old roof is coiled up and ready to scrap. |
78. The exposed roof. 2x 9mm plywood sheets |
 |
 |
|
|
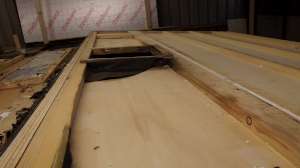
79. Plywood sheets removed. |
80. Rear roof section is unscrewed and removed from the top. |
81. The other side. |
 |
|
|
|
82. Both roof sections have now been removed. |
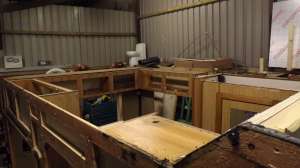
83. Overview of the Cheetah with the main roof sections. |
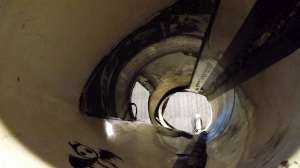
84 The overhead cab roof with opening for the 280mm x 28-mm skylight. |
|
|
||
|
|
 |
|
|
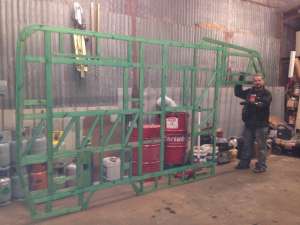
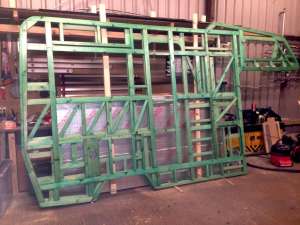
85. No going back now! |
86. The new walls get more wood preservative. |
87. That's the nearside wall done. |
 |
 |
|
|
88. We've had this photo before. Ooops! |
89. At last the old wall is removed from the Cheetah and the new side wall is put on. |
90. Coachbolts, washers and nuts are used at the back into and along the side skirts. More of this later. |
 |
 |
|
|
91 The offside wall ready for the preservative. |
92. Half way there. |
93. Completed. |
 |
|
|
|
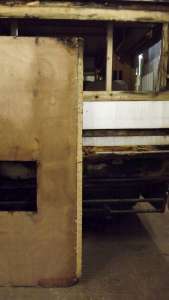
94. The old wall is removed and the new Offside framing is temporarily put on the van |
95. As with the other side - coachbolts, washers and nuts. |
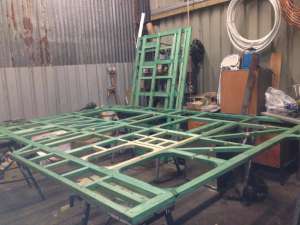
96. With the side wall framing done, onto the next task. This is no ordinary restoration in as much Clare & Marv have decided to completely renew all the internal furniture too. |

<-- Previous Page | Next Page -->
Or select a page: 1 - 2 - 3 - 4 - 5 - 6 - 7 - 8 - 9 - 10 - 11 - 12 - 13 - 14 - 15 - 16 - 17 - 18 - 19
<--Click here to return to the Main Index