|
Karmann Cheetah No.29 Restoration
Marv and Clare Jennings
Page 07 |
|
| This is the restoration of Cheetah No.29 expertly done by Marv and Clare. Although the Cheetah had been repaired in the past, these repairs did not last and a full restoration was required. The restoration started on the 8th December 2013. |
|
|
|
|
|
|
||
 |
 |
|
|
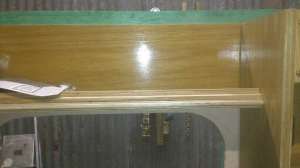
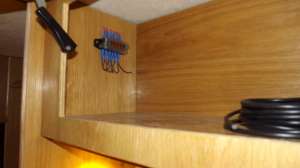
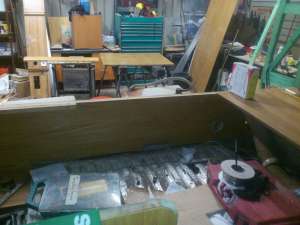
145. The shelf above the side door. |
146. Top of the cabinet next to the side door. |
147. The shelves for charging is now clear to see. |
 |
 |
|
|
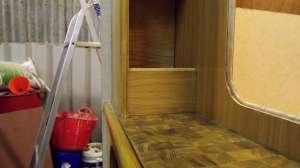
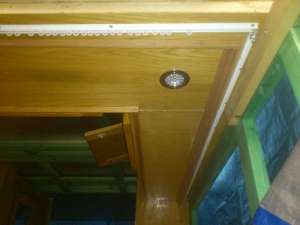
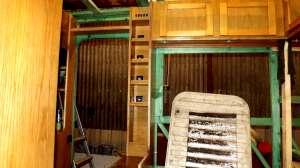
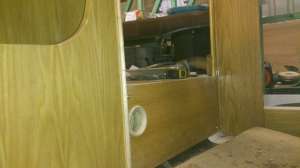
148. View of the kitchen cupboard and charging units. |
149. Rear offside cupboards. |
150. Wiring is positioned for down-lighters and LED's |
 |
 |
|
|
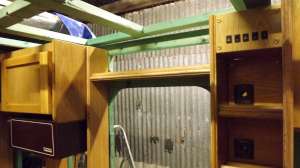
151. Fuses |
152. New down lighters and LED strip. |
153. Another view. |
 |
|
|
|
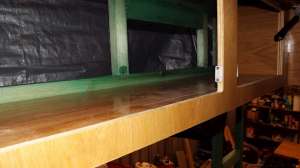
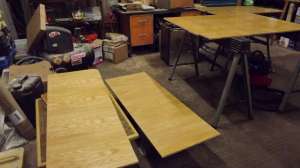
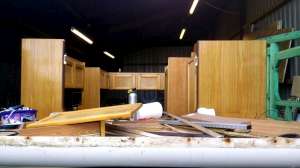
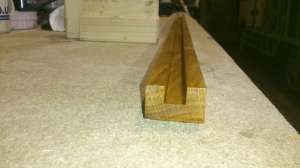
154. Amongst others, new seating panels |
155. New wood runners |
156. Back seating assembled and nearly complete. |
|
|
||
|
|
 |
|
|
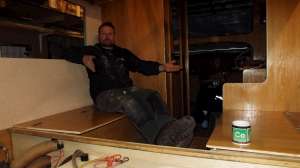
157. A new step for the lounge area. |
158. All done! |
159. It's been a lot of work getting this far, so Marv takes a rest! ;-) |
 |
 |
|
|
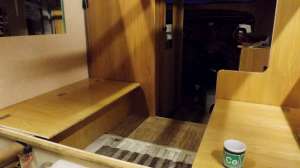
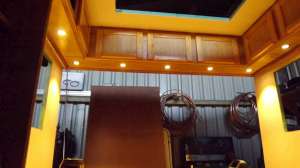
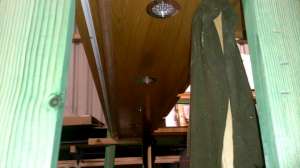
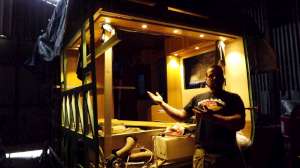
160. View of the furniture from the front of the Cheetah. |
161. Now you can appreciate the down lighters. |
162. Proudly showing off the finished interior. |
 |
 |
|
|
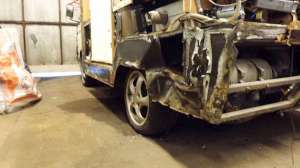
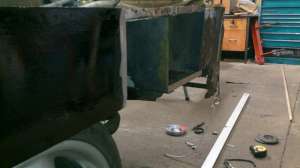
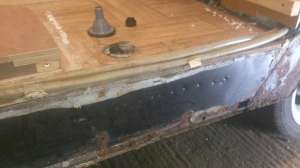
163. Before Calre and Marv can proceed further, the metal skirting on the Cheetah needs some repairs. |
164. Rusty. |
165. This is all quite normal for 30 year old vehicle which has been stood outside for most of it's life. |
 |
|
|
|
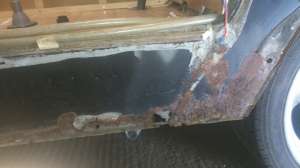
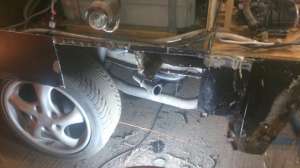
166. Dented and mangled metal removed. |
167. A new panel will be welded in here. |
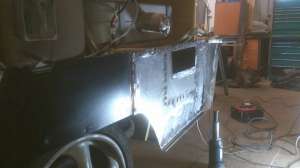
168. New metal in. |

<-- Previous Page | Next Page -->
Or select a page: 1 - 2 - 3 - 4 - 5 - 6 - 7 - 8 - 9 - 10 - 11 - 12 - 13 - 14 - 15 - 16 - 17 - 18 - 19
<--Click here to return to the Main Index