|
Karmann Cheetah No.29 Restoration by Clare and Marv Jennings
Page 10 |
|
| This is the restoration of Cheetah No.29 expertly done by Marv and Clare. Although the Cheetah had been repaired in the past, these repairs did not last and a full restoration was required. The restoration started on the 8th December 2013. |
|
|
|
|
|
|
||
 |
 |
|
|
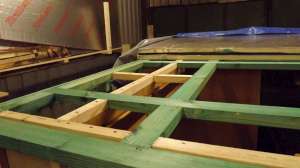
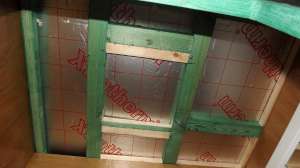
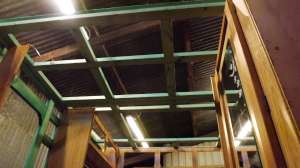
217. Work begins on the main roof area. |
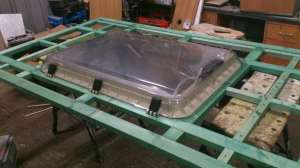
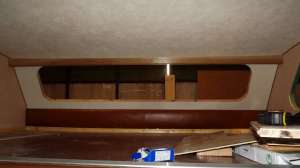
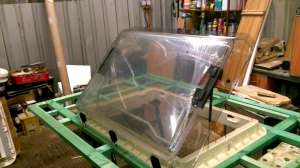
218. Trial fitting the Heki 2 |
219. Heki 2's provide a huge amount of light in the lounge compared to the original 400mm x 400mm skylight. |
 |
 |
|
|
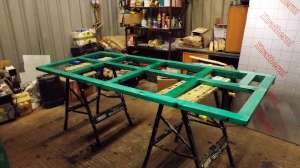
220. The roof is made in two sections. This is the front section over the side door. |
221. Another view |
222. Looking at the new roof framing from the front of the Cheetah. |
 |
 |
|
|
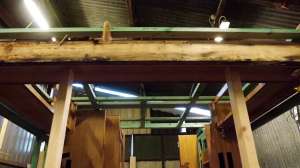
223. The toilet roof with opening for a skylight. |
224. Another coat of preservative? |
225. Roof framing is complete. Time to apply the ceiling boards. |
 |
|
|
|
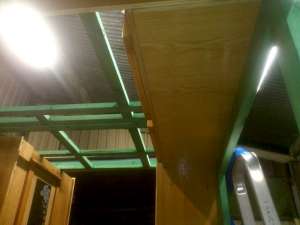
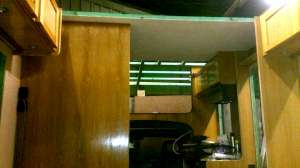
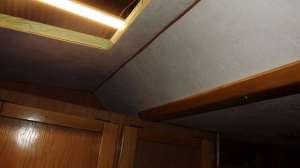
226. Front roof section with ceiling board placed in position. |
227. Rear roof section in position. |
228. Ceiling board on the overhead cab. |
|
|
||
|
|
 |
|
|
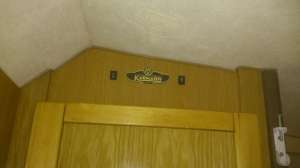
229. Over the side door. |
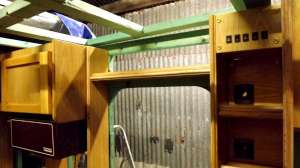
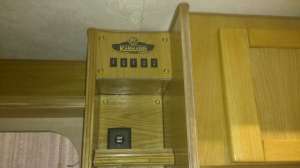
230. The new charging station. |
231. |
 |
 |
|
|
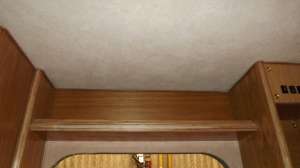
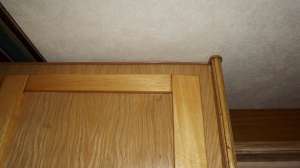
232. Overhead cab front all with curtain pelmet fitted. |
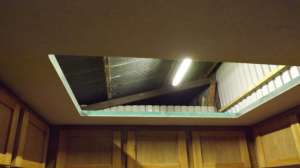
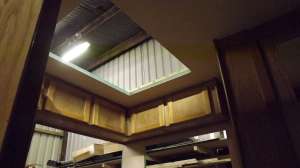
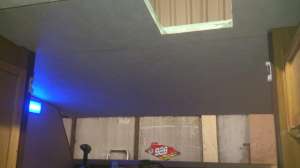
233. That's a big hole for the Heki 2 = lots of light. |
234. Welting is applied to the top of the furniture before the ceiling sections are secured onto the van. |
 |
 |
|
|
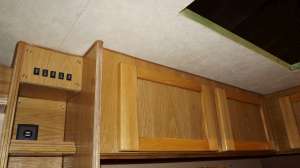
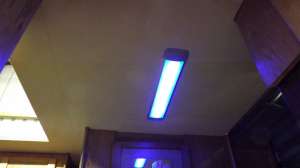
235. New kitchen light. |
236. Rear lounge ceiling, |
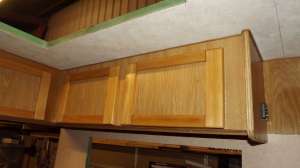
237. Kitchen cupboard top. |
 |
|
|
|
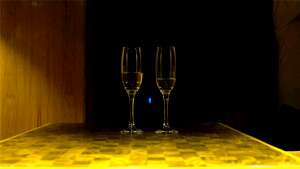
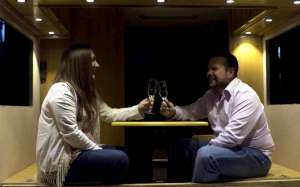
238. View of the kitchen slant. |
239. Probably more than half way through the restoration so time for celebrations. |
240. This restoration was a joint effort between both Marv and Clare so they spoil the shares. |
<-- Previous Page | Next Page -->
Or select a page: 1 - 2 - 3 - 4 - 5 - 6 - 7 - 8 - 9 - 10 - 11 - 12 - 13 - 14 - 15 - 16 - 17 - 18 - 19
<--Click here to return to the Main Index