|
Karmann Cheetah No.29 Restoration by Marv and Clare Jennings
Page 13 |
|
| This is the restoration of Cheetah No.29 expertly done by Marv and Clare. Although the Cheetah had been repaired in the past, these repairs did not last and a full restoration was required. The restoration started on the 8th December 2013. |
|
|
|
|
|
|
||
 |
 |
|
|
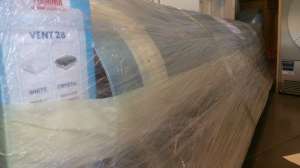
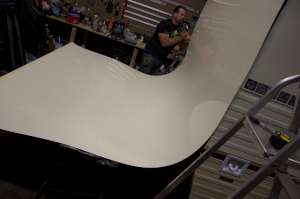
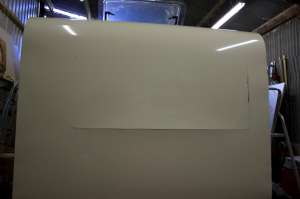
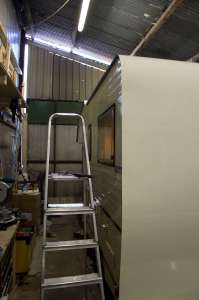
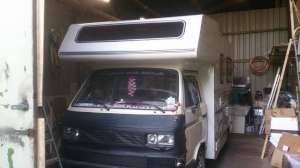
289. Time to fit the new roof. |
290. The new roof ali is deliver on a roll. |
291. Ali roof ali lifted onto the Cheetah roof. |
 |
 |
|
|
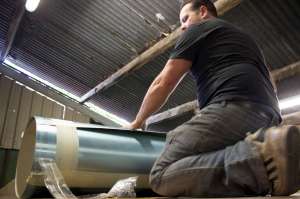
292. Preparing to unroll the coil |
293. This is a minimum of a 2 person job. |
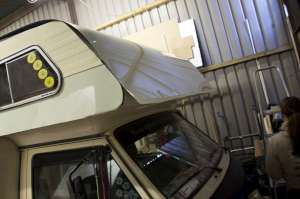
294. Positioning of the roof ali. Enough is needed on both sides of the van to allow a 5mm overlap. |
 |
 |
|
|
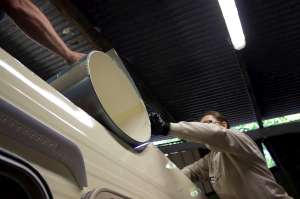
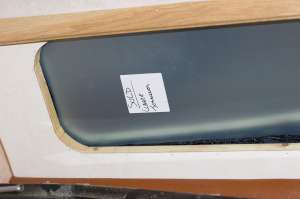
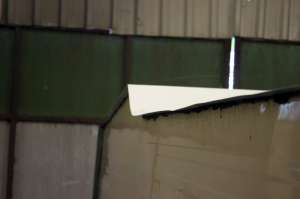
295. Rear end of the van. |
296. Excess ali at the bottom rear end. |
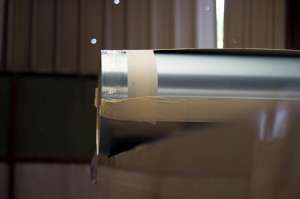
297. Overlap at the front. |
 |
|
|
|
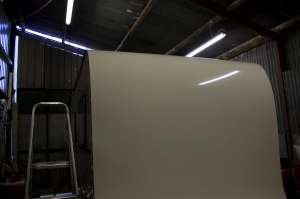
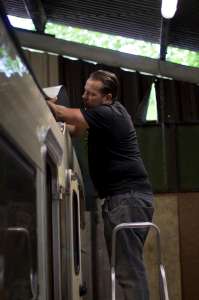
298. Inside the overhead cab! |
299. Marv seals to underside of the ali roof using Sika 710. |
300. Sika is used along the entire length front to rear. |
|
|
||
|
|
 |
|
|
301. Plenty of overlap this side too. |
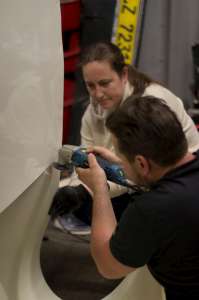
302. Fiddling with the kitchen slant. |
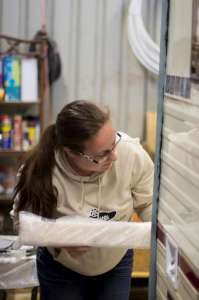
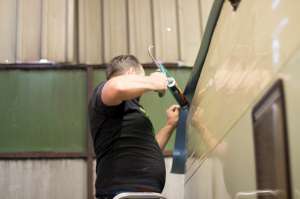
303. A steady hand is needed when it comes to trimming the ali. |
 |
 |
|
|
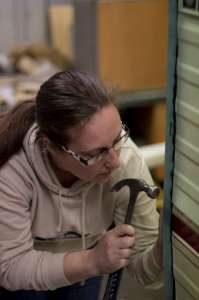
304. Clare uses something to keep the ali as flat as possible at the rear while Marv staples to ali. |
305. Any staples that are proud are knocked in. |
306. Nearly there. Fitting the front window holds the ali flat. |
 |
 |
|
|
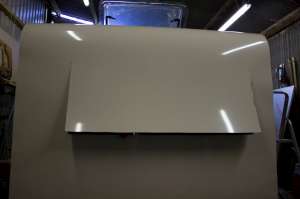
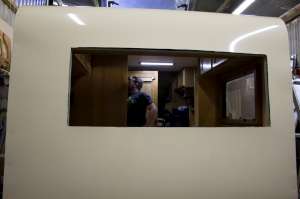
307. Starting to cut out the back window opening. |
308. 3/4 of the way. |
309. Done. |
 |
|
|
|
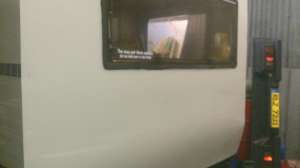
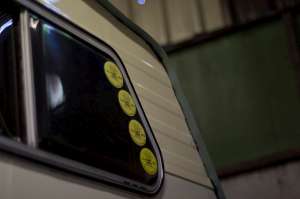
310. The back window is fitted. |
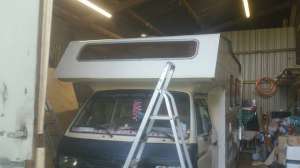
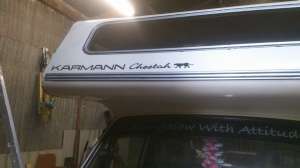
311. The front edge is trimmed to length and the ali trim screwed on. |
312. No doubt it was a long day, but it's there. |
<-- Previous Page | Next Page -->
Or select a page: 1 - 2 - 3 - 4 - 5 - 6 - 7 - 8 - 9 - 10 - 11 - 12 - 13 - 14 - 15 - 16 - 17 - 18 - 19
<--Click here to return to the Main Index