|
Karmann Cheetah No.29 Restoration
Marv and Clare Jennings
Page 05 |
|
| This is the restoration of Cheetah No.29 expertly done by Marv and Clare. Although the Cheetah had been repaired in the past, these repairs did not last and a full restoration was required. The restoration started on the 8th December 2013. |
|
|
|
|
|
|
||
 |
 |
|
|
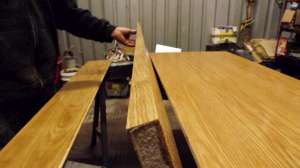
97. A pattern is taken from the old furniture, cut and then sanded and varnished. |
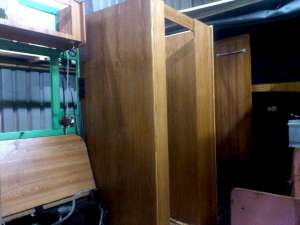
98. The first of the walls completed. Left hand wardrobe wall. |
99. Routered channels. |
 |
 |
|
|
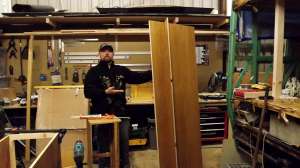
100. One of the bathroom walls completed. |
101. The first of the walls offered up. |
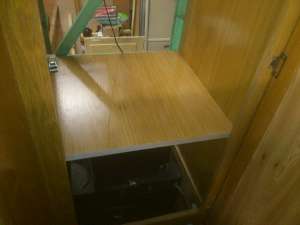
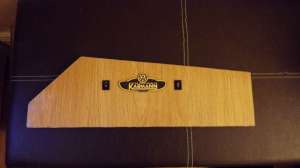
102. Unusual wardrobe top. The switches are for lights inside the wardobe. |
 |
 |
|
|
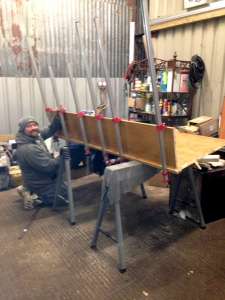
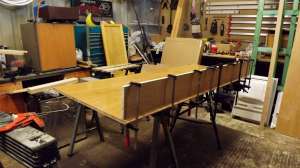
103. Wardrobe shelf. |
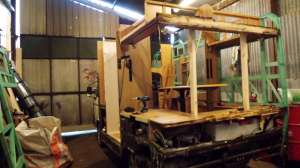
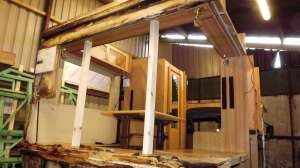
104. Overview of the progress so far. |
105. Another wall under construction. I believe this is the other toilet wall. |
 |
|
|
|
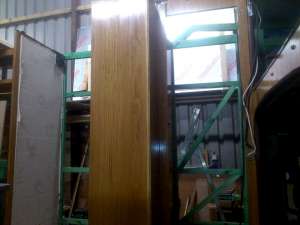
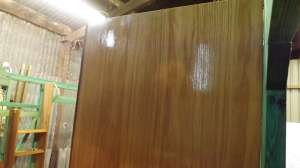
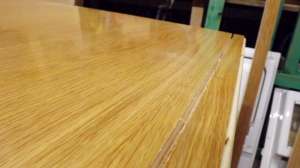
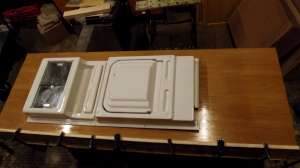
106. Glossy finished. |
107. Ready for fitting |
108. Working out the height for the bathroom sink. |
|
|
||
|
|
 |
|
|
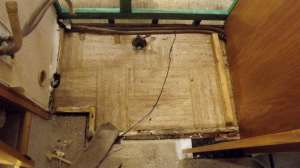
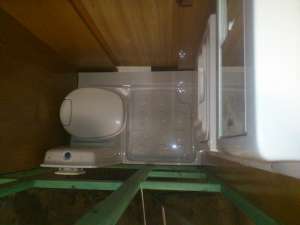
109. If you look carefully you will see Marv and Clare have increased the size of the bathroom. The old shower base wood supports show the original foot-print. |
110. The rear toilet wall with heater vent. The increased foot-print is clear to see. |
111. Of course a new shower tray and swivel toilet will be installed. |
 |
 |
|
|
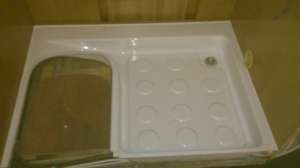
112. New shower trap being installed |
113. Bathroom vanity unit fixed to the bathroom wall. |
114. Bird's eye view of the new bathroom. |
 |
 |
|
|
115. Duplicated photo. |
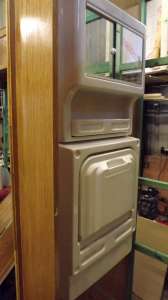
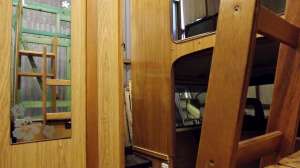
116. The bathroom and wardrobe almost complete. |
117. Wardrobe and bathroom finished by putting new doors on both. |
 |
|
|
|
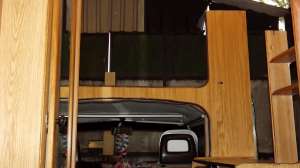
118. Even the bulkhead panel gets a nice new finish. |
119. The new bulkhead look. |
120. Onto the kitchen unit. |

<-- Previous Page | Next Page -->
Or select a page: 1 - 2 - 3 - 4 - 5 - 6 - 7 - 8 - 9 - 10 - 11 - 12 - 13 - 14 - 15 - 16 - 17 - 18 - 19
<--Click here to return to the Main Index