|
Karmann Cheetah No.29 Restoration by Clare and Marv Jennings
Page 08 |
|
| This is the restoration of Cheetah No.29 expertly done by Marv and Clare. Although the Cheetah had been repaired in the past, these repairs did not last and a full restoration was required. The restoration started on the 8th December 2013. |
|
|
|
|
|
|
||
 |
 |
|
|
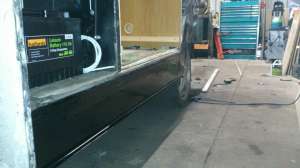
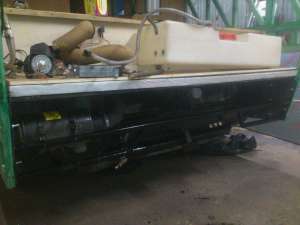
169. A generous coat of protective paint. |
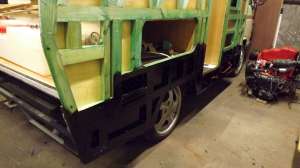
170. The new rear end. |
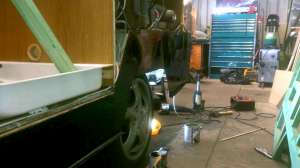
171. The offside. Slightly better condition but still needing work. |
 |
 |
|
|
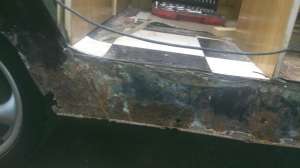
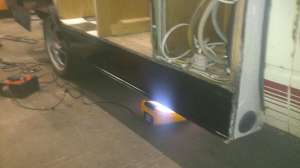
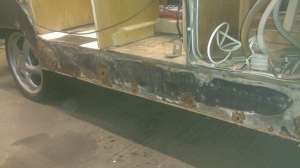
172. Below the side door. |
173. The complete length is cut away. |
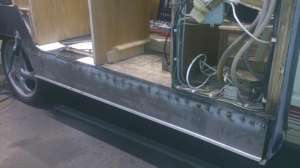
174. And a new section is welded on. |
 |
 |
|
|
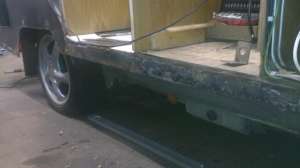
175. More protective paint. |
176. The rear iron is painted too. Onto the next task. |
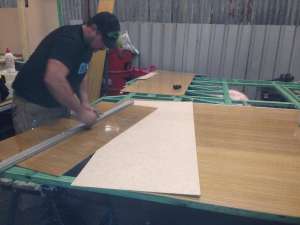
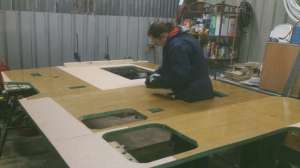
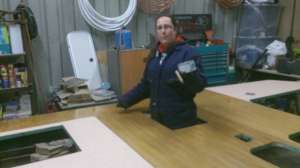
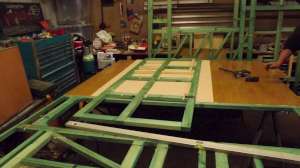
177. Marv working out where the wall boarding should be positioned. |
 |
|
|
|
178. You will note the two different board types. |
179. Clare applying Briwax to the wallboards. Briwax cleans and polishes. |
180. It's a lot of polishing. One wall down and another to go Clare! |
|
|
||
|
|
 |
|
|
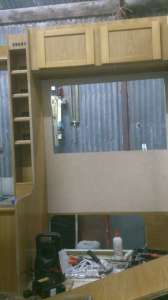
181. The wall is done at last. |
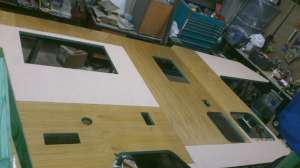
182. Clever use of the wallboarding. |
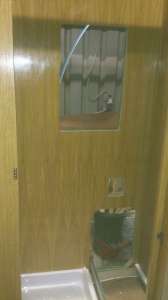
183. Preview of the external wall in the toilet. |
 |
 |
|
|
184. No time for rest, onto the other side. |
185. Although the pattern for the wall boarding will be almost identical in pattern to the nearside it does need some thought. |
186. Slowly getting there. |
 |
 |
|
|
187. Still going. |
188. The offside wall is complete. |
189. Ready for mounting on the Cheetah. |
 |
|
|
|
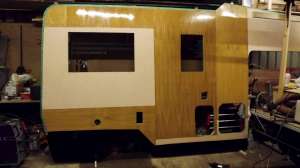
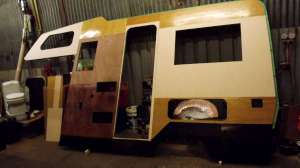
190. All done. |
191. Offside lounge wall. |
192. The bottom of the wall is given more protective paint. |

<-- Previous Page | Next Page -->
Or select a page: 1 - 2 - 3 - 4 - 5 - 6 - 7 - 8 - 9 - 10 - 11 - 12 - 13 - 14 - 15 - 16 - 17 - 18 - 19
<--Click here to return to the Main Index