|
Karmann Cheetah No.29 Restoration by Clare and Marv Jennings
Page 14 |
|
| This is the restoration of Cheetah No.29 expertly done by Marv and Clare. Although the Cheetah had been repaired in the past, these repairs did not last and a full restoration was required. The restoration started on the 8th December 2013. |
|
|
|
|
|
|
||
 |
 |
|
|
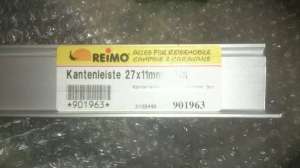
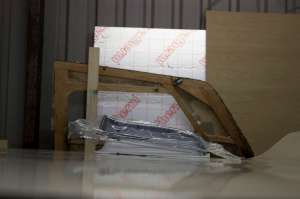
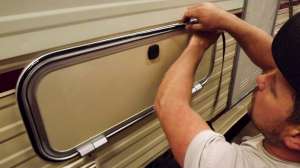
313. New edging trims (and rubbers). |
314. The edging ali trim comes in straight lengths so it has to be formed. |
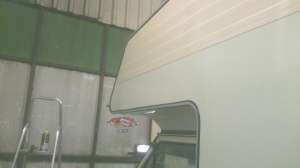
315. Tight curves like this one are not easy. |
 |
 |
|
|
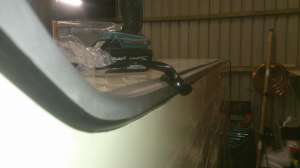
316. The tightest curve is at the front lower corner of the overhead cab. |
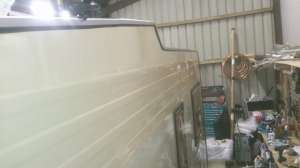
317. The roof line. |
318. The kitchen slant. The edging insert trim is put in (very fiddly job). |
 |
 |
|
|
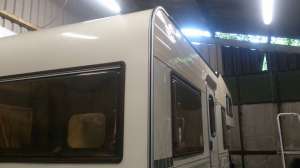
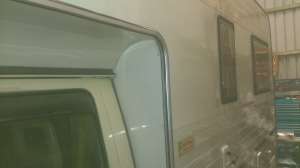
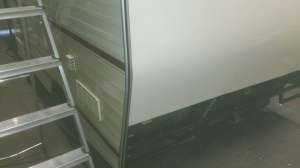
319. Done! Offside complete. |
320. Nearside complete. |
321. End of the insert trim are either stapled on the underside or screwed to prevent movement. |
 |
|
|
|
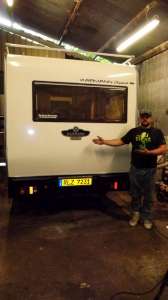
322. Another long day over. |
323. The rear Karmann badge. |
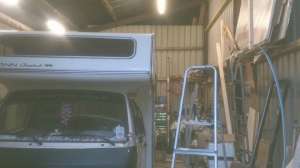
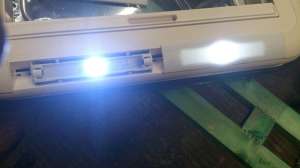
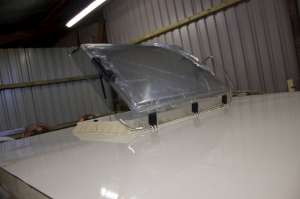
324. The Heki 2 is prepared to fitting. This is the Heki 2 plus with the built in LED lights. |
|
|
||
|
|
 |
|
|
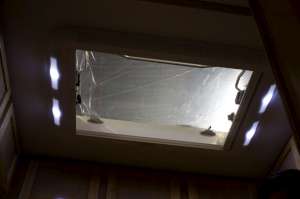
325. Leds are testing before fitting the Heki. |
326. Fitted and working. |
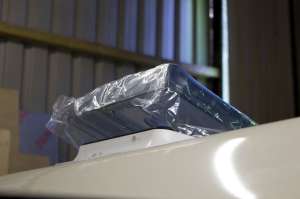
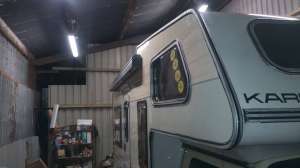
327. View on the roof. |
 |
 |
|
|
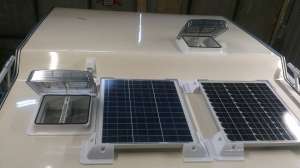
328. The other skylights are fitted. This is the bathroom one. |
329. Overhead cab skylight (280mm x 280mm) |
330. Solar panels fitted. View of the roof layout. |
 |
 |
|
|
331. Work continues putting the insert trim in. |
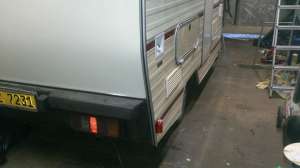
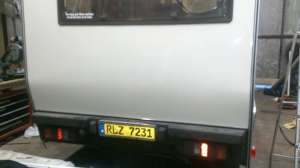
332. The awning is refitted. |
333. Back bumper on. |
 |
|
|
|
334. Marker lights... |
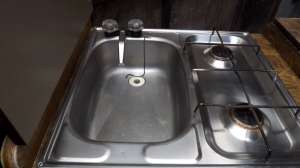
335. Out of sequence photo. new tap was fitted before the side wall was mounted on the van. |
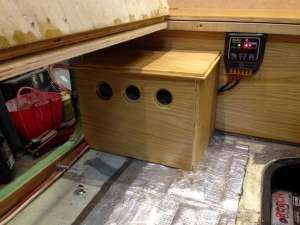
336. Battery box. |

<-- Previous Page | Next Page -->
Or select a page: 1 - 2 - 3 - 4 - 5 - 6 - 7 - 8 - 9 - 10 - 11 - 12 - 13 - 14 - 15 - 16 - 17 - 18 - 19
<--Click here to return to the Main Index