|
Karmann Cheetah No.29 Restoration by Marv and Clare Jennings
Page 11 |
|
| This is the restoration of Cheetah No.29 expertly done by Marv and Clare. Although the Cheetah had been repaired in the past, these repairs did not last and a full restoration was required. The restoration started on the 8th December 2013. |
|
|
|
|
|
|
||
 |
 |
|
|
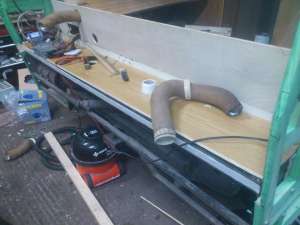
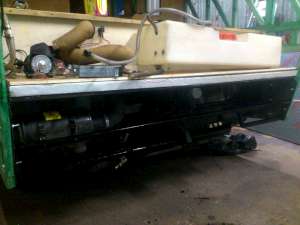
241. Out of sequence photo although this task can be done at almost anytime. New plinth for the water tank. |
242. Another one out of sequence. New water tank plinth. |
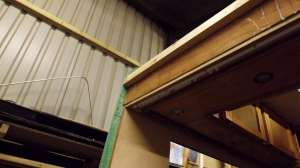
243. The roof is now secured to the Cheetah so it's time to start building the back wall. |
 |
 |
|
|
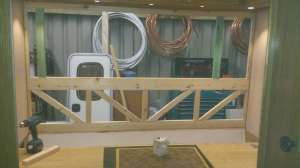
244. Ready to start construction of the back wall. |
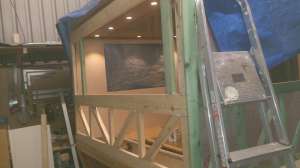
245. Bottom section. |
246. The main wall. |
 |
 |
|
|
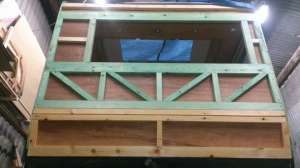
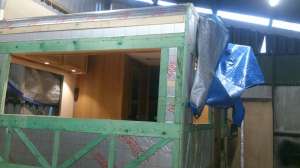
247. The window is offset to allow room for the ladder on the nearside. |
248. View from another angle. |
249. The wall boarding is put on. Just the window opening to cut. |
 |
|
|
|
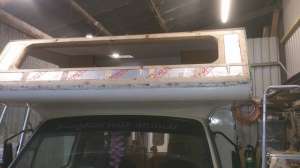
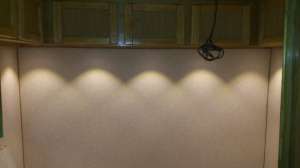
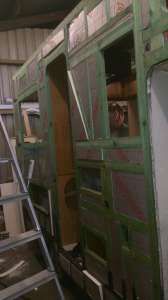
250. The finished back wall. |
251. From the inside. Next job.... |
252. Cutting and inserting the new insulation. |
|
|
||
|
|
 |
|
|
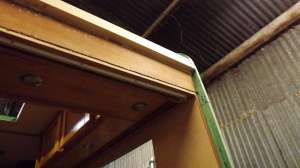
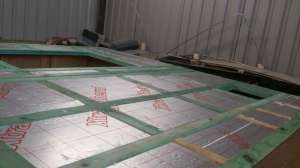
253. Roof is done. |
254. Front Overhead cab wall is done. |
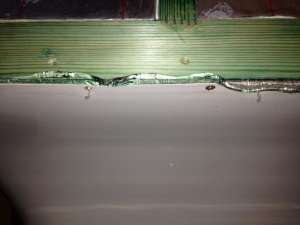
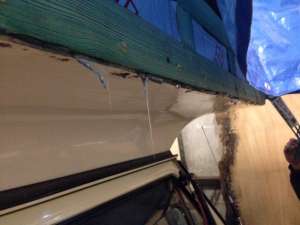
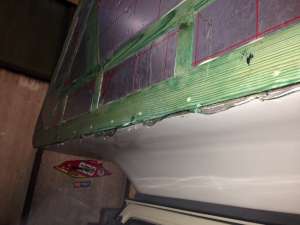
255. This is an important photo as it shows that silicone sealant should be applied between the framing and the fibreglass base. When dry cut the excess off. |
 |
 |
|
|
256. All those restoring a T3 Karmann should do this. |
257. More's the better for this area. |
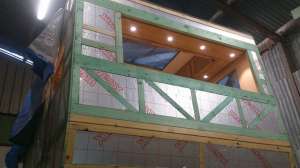
258. Insulation completed on the offside of the Cheetah. |
 |
 |
|
|
259. Rear wall insulated. |
260. Note the extra strengthening Marv has inserted into the back wall. It's a good idea because the back wall tend to flex when leaned on. |
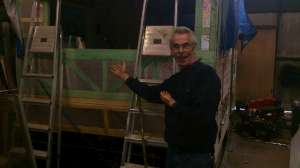
261. Dodgy looking fella visits. Last seen leaving the scene with a Bonoplex window. |
 |
|
|
|
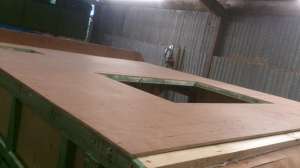
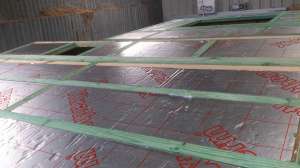
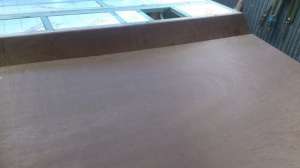
262. Once al the insulation is inserted, 9mm ply sheets are placed on the roof. This provides strength to the roof as well as a flat platform for the roof ali. |
263. View of the front section and kitchen slant. |
264. The big hole for the Heki 2. |


<-- Previous Page | Next Page -->
Or select a page: 1 - 2 - 3 - 4 - 5 - 6 - 7 - 8 - 9 - 10 - 11 - 12 - 13 - 14 - 15 - 16 - 17 - 18 - 19
<--Click here to return to the Main Index